I am sorry, I forgot to update. So here is one well massive post : D


my hydraulic jack did not go high enough so well I just had to use what was around : P

The second set of jackstands actually are not touching the car, they are there "just in case"


I like this stance I think i am going to keep it : )

Got some work done in the past two days. The cross member is coated with undercoating. The vehicles engine bay what is black is undercoated, what is green (primer) is not.


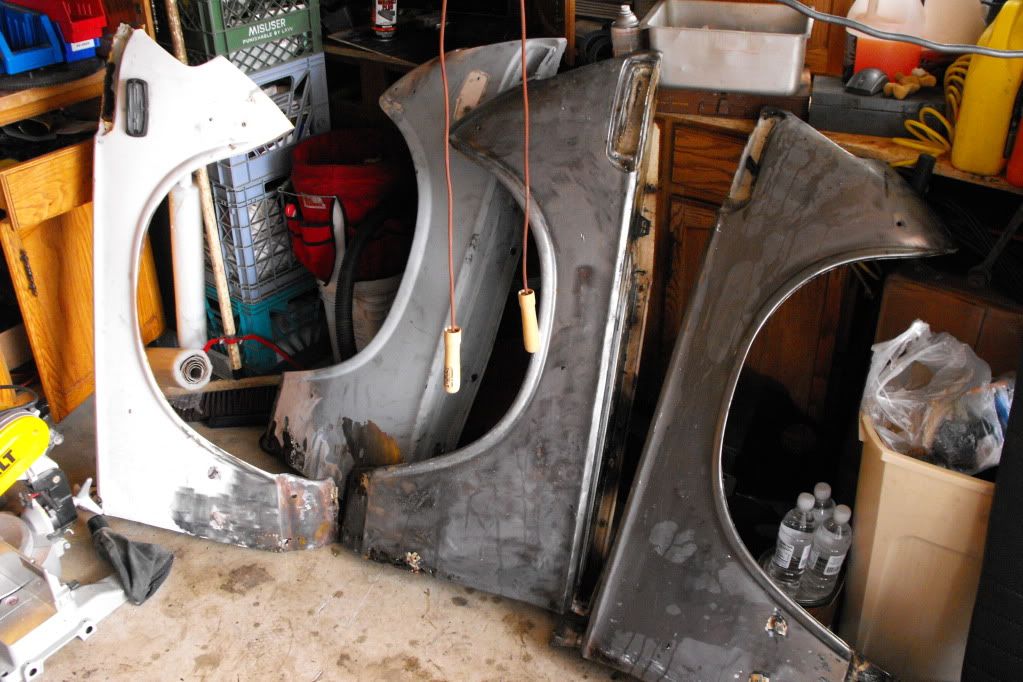
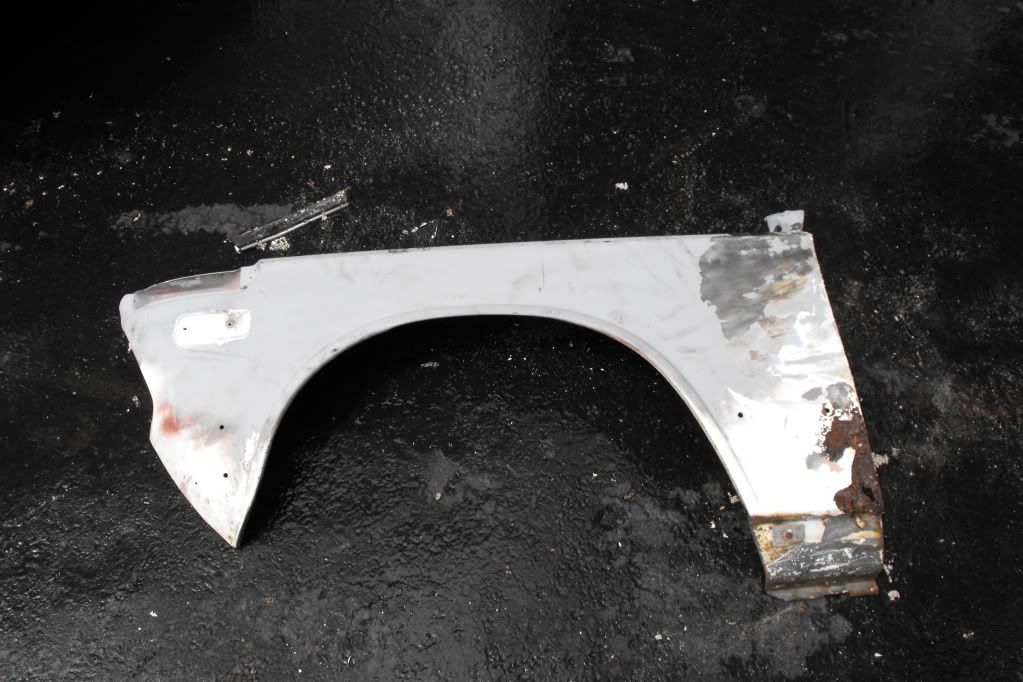
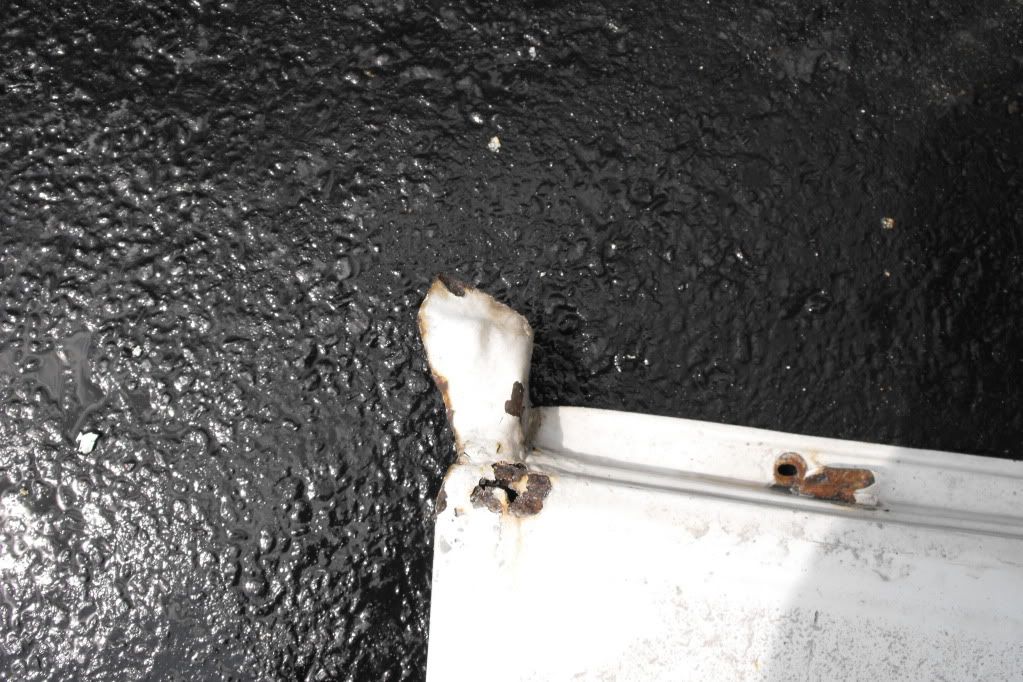
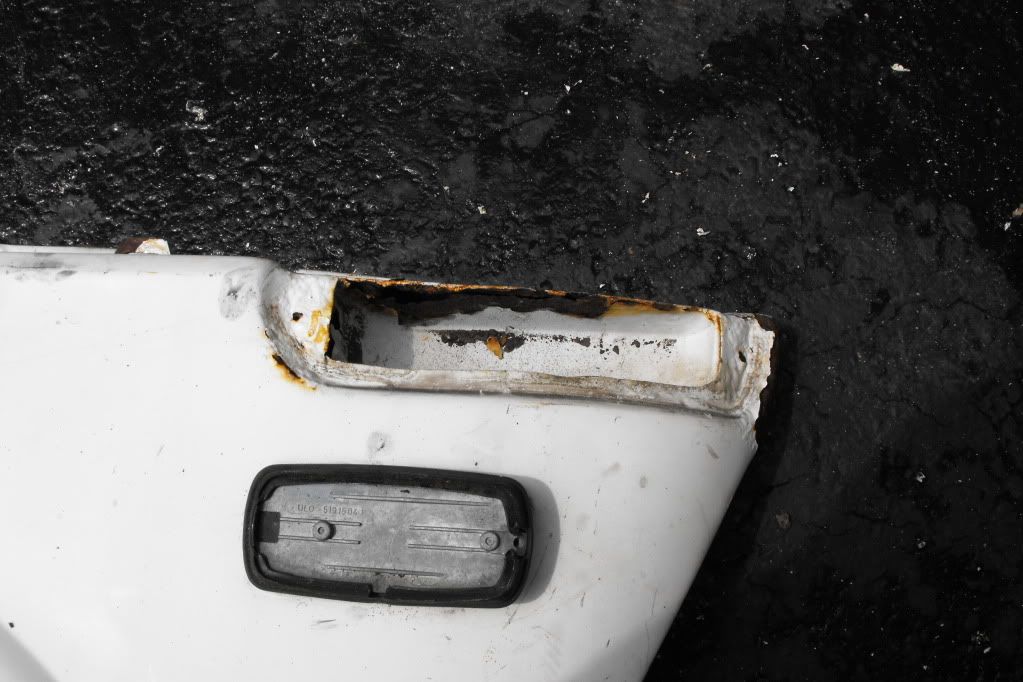
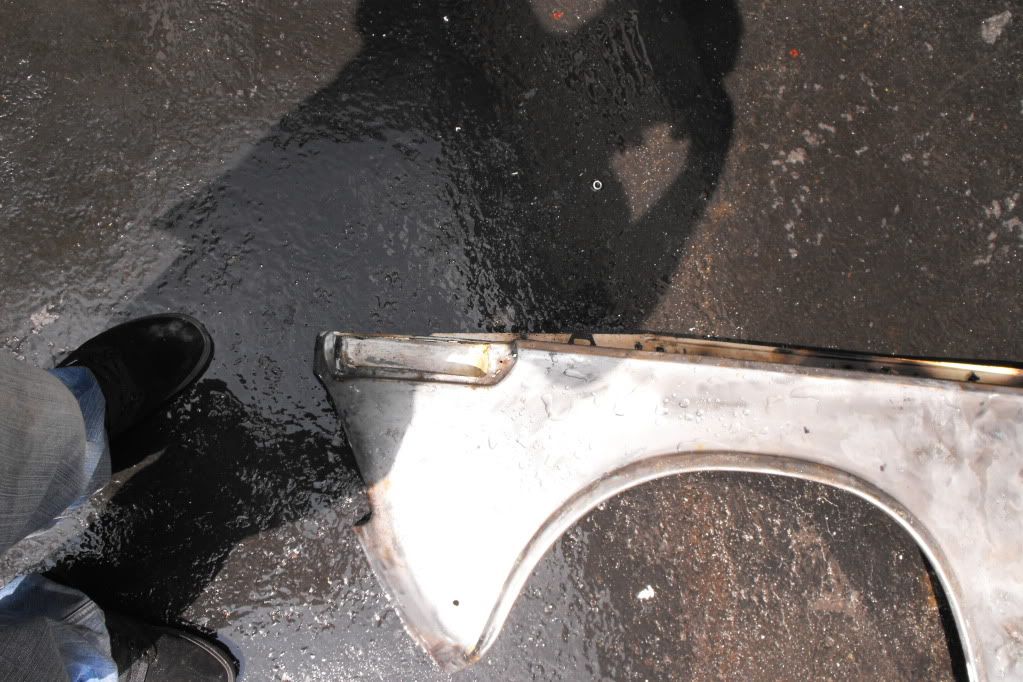
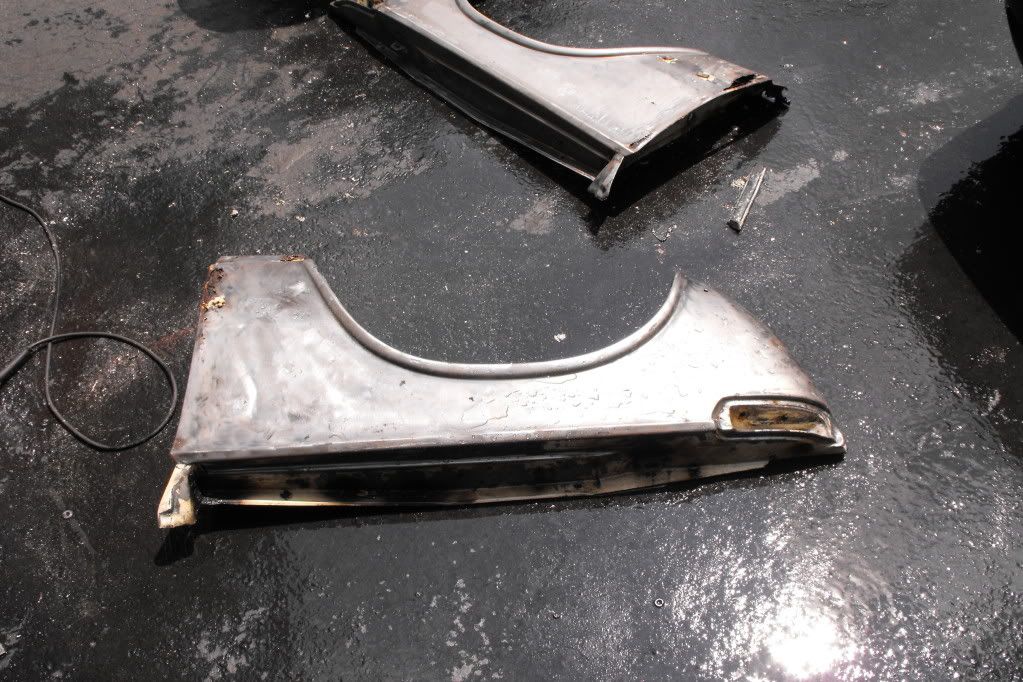
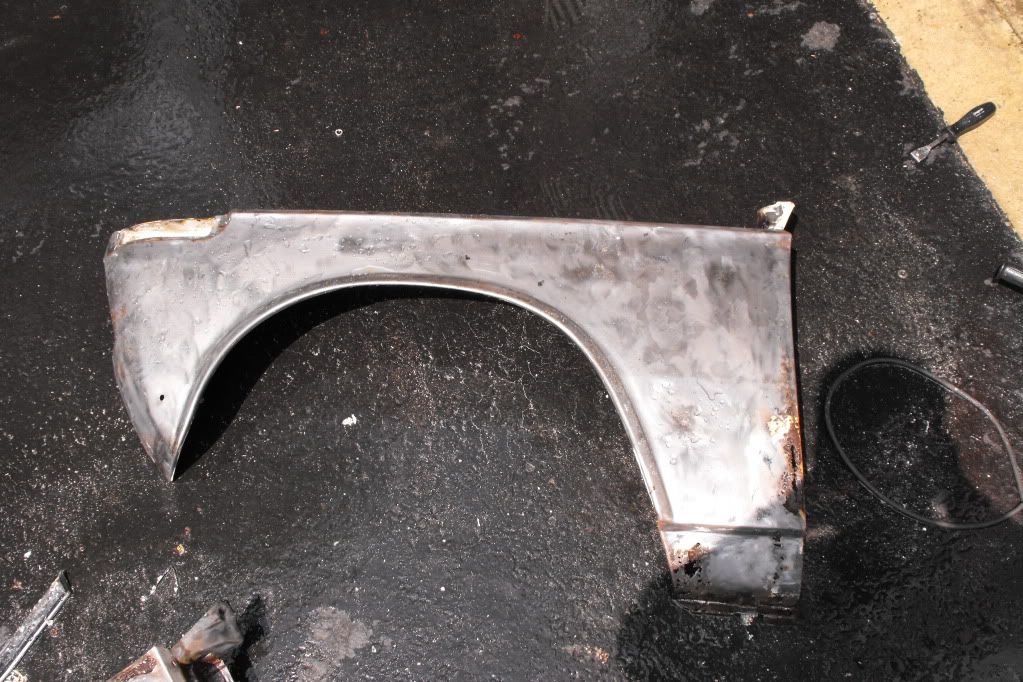
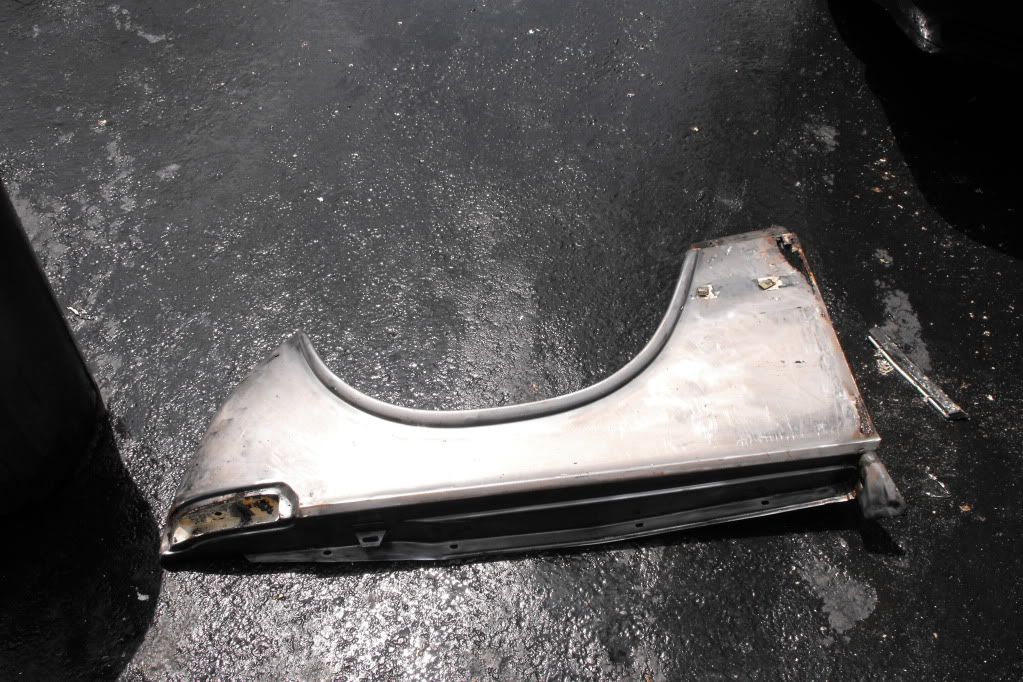
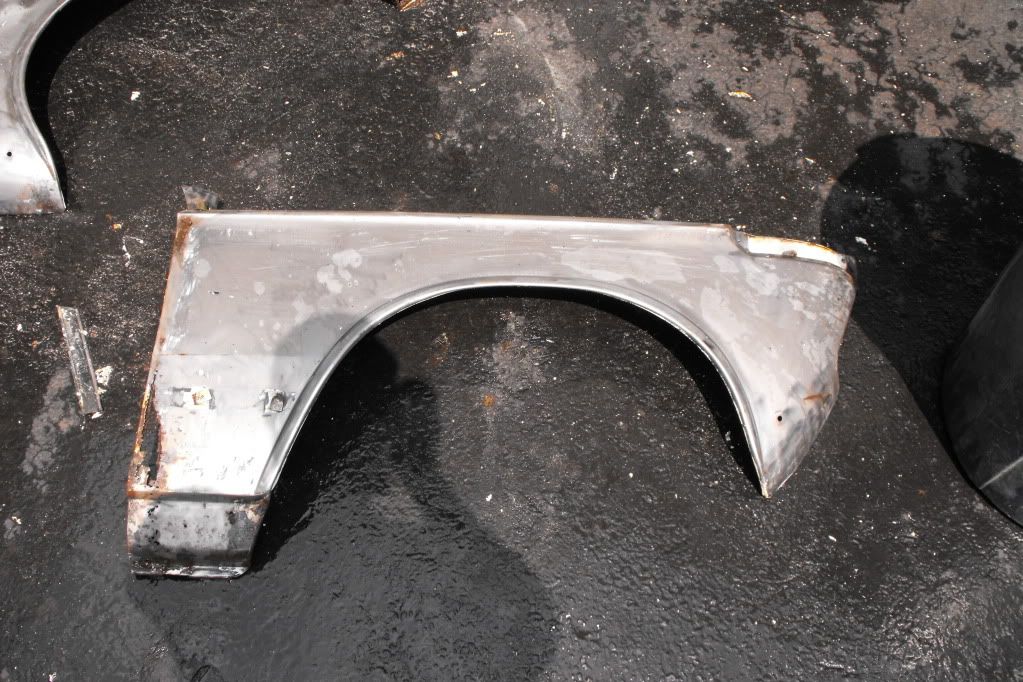
Picked up two fenders and a door for $300 : D


I was able to clean up the lights that I got when I picked up the fenders. Only one visible spider crack : D It makes me happy : P


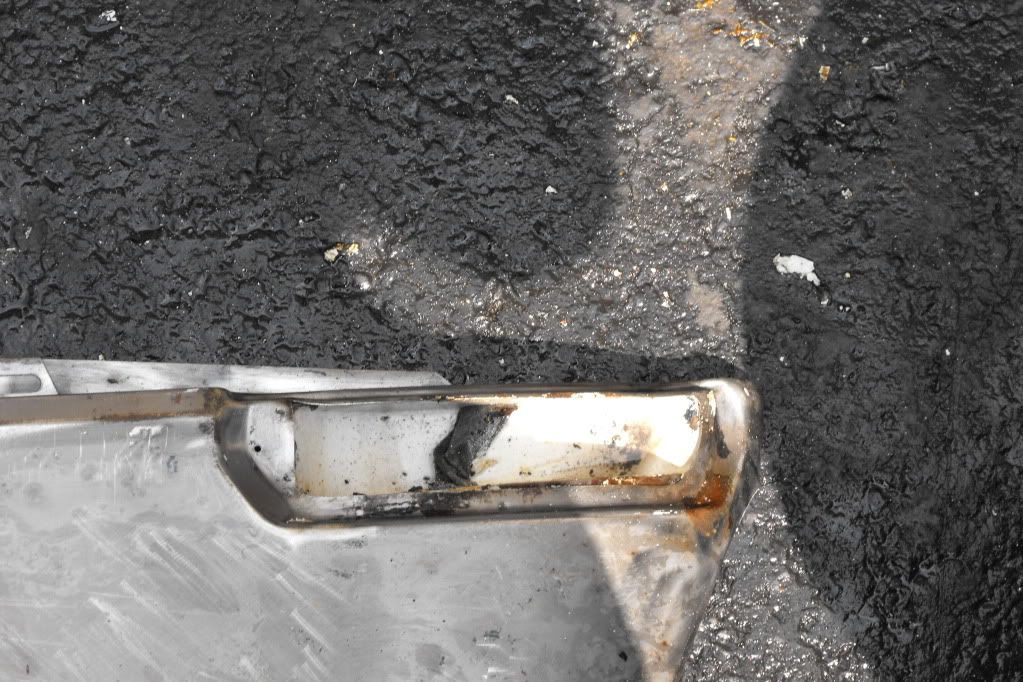
I cleaned up the two fenders that I picked up the other day. I found plenty of holes, but I am very happy with them so far. I know some of you wouldn't be happy about them haha. The East coast is no place for these cars.
The bare fenders are the "new" ones : P
-
I <3 Hydraulic jacks. I had to move the car in the driveway with no front end.


I started stripping the paint off of the roof. I was not planning on doing this today but I wanted to see what the rain gutters looked like and all I saw was bondo. Much to my surprise I am about halfway across the roof and it looks like I may have gotten lucky.
In the rear corners (c pillar) top each one has been welded. New roof?!?! at one point, I could not find and welds up front, although there was lead used as a body filler over the welds, my wire wheel ended up taking it all out.

-

-

So I am still the most confused person in the world haha. Well I did some research about the rear end, and that is not the weird part. Like always it comes back to the engine. From multiple websites I have read that the engine in the 76' should be an 2.0L with a E21 head. My engine is the 1.8L with the E12 head, I and just confused but its all done and built so i am fine with it haha.
Well back to the rear end. I sorta did a "day" trip to Jersey and picked up the rear end while trying to sell the golf. I pulled the diff cover off the rear to see the fluid cover, check the magnet, and see what gear ratio it is.
The fluid was no "black" it was still somewhat clean, the backlash I did not measure but it seems completely in spec. The magnet hardly had any metal shavings on it and the teeth looked like there was not much wear on them. : D
The gear ratio turned out to be the factory 3.9:1 instead of the 3.64:1

The trick with this rear cover is to remove four out of the six bolts and leave the two in the top loose. Take the mallet and give one good swing like shown in the pic and it separates the cover perfectly and quickly.

-

-

-

-

She has a new home while I am at school : )


got my parts in!!

When you order a new slave cylinder for these cars, you need your old push rod. I thought I left it at home, but I brought it. So i cleaned it up and gave it a little shine : D
Before anyone yells at me, I may have stated it before, but I need the car on a rolling chassis with brakes for the Dyno, so the original suspension is going back onto the car for the time being.
The wheel bearings were in GREAT condition, and the grease was red as anything. I pulled it all apart and it all looked great so I bought three bolts some paint and some cotter pins to finish putting it together for now.
anyway pictures : )


So I played with the transmission today. I wanted to make sure that I had everything to put it back into the car. I refinished the throwout bearing arm and rebuilt the steering rag joint. I could not find one bracket for the transmission so I made one up really quick, and it holds the shifters bottom half nice and firm.
Anyway picspicspics:
(yes they are from a cell phone)


This is what I have been putting off because of the rust. . . i mean rot. I am in a pinch right now and I will probably get it working properly and repair the rust later. I will treat it for the time being, but I do not have access to a welder to repair it. : / I know that I am going to get harassed about this and there will be mixed feelings, but for the time being to get her up and running, I have to half a** it for the time being. : /
it is although pretty structurally sound.
-


Started work on the rear end tonight.


Still working on the rear end haha. It is coated in truck bed liner spary. I have used it on the bumper of my Silverado and it holds up very well.

I ordered these a little before Christmas. I was surprised I would be able to order them from BMW. Before anyone says that I overpaid for them, I did get them at cost. Sometimes it is nice to be a technician.
anyway:

-

Got my flywheel back today. From what I have found is that it started out at 19lbs. It is now 16.3lbs : D
It cost $80.25 to get machined

Finally finished the rear end, got all the bolts in with a little RTV and Locktite (sp?) Also just a small picture of the drive shaft. I got my package from JEGS today with alot of little stuff for wiring etc. But i got a free hat : D

-

So this is why I can not reuse this caliper : /
-

-
I had my old regulator literally shoot out at me twice so I bought a new one with a water trap : )
-

-
My Battery cam in today from Braille
-

-
I got this awesome mount for the battery, it come it all mounting hardware
-

-

-
These came with the battery
-

-
i thought that this was pretty awesome they send the battery tested from the factory with a build date! oooo and of course the free stickers

-


^^ yeah that isnt a thermostat . . . it is my dohickythingermagig it does all kinds of wonderful stuff haha
Well I got some fancy battery cables in today, for some reason I didn't think that I ordered these, but good news is that at least I can use one of them, they come in a pair I believe.

I tinhk I forgot to mention, maybe I did in the past, but I already have ground straps for the engine
IT IS ON AL FOURS AGAIN!!! : D

Also I don't think i ever posted a picture of the headers wrapped


Got some tires in today. : D
-

-

-

-
And a picture of my roomates "build" in our dining room haha (on E30Tech his user name PCTTOM )

[QUOTE=mellbergVWfan;69487520]I like how you organize your priorities. Car parts > Living space.
Those tires will look nice and meaty on the mesh wheels/ :thumbup:[/QUOTE]
took the tires to get mounted : D

got my tires back : ) and the heats not working grrr : (


Anyway rear brakes are on the car.


 -
-